Please take a 180-degree turn from last month’s blog post about teeny-tiny espresso mugs, and follow me as I muse about BIG POTS for this month’s post! Making large-scale pots is the secret desire of every aspiring potter. A ‘big pot’ demonstrates to family, friends, and fellow clay addicts that you know what you’re doing and that this obsessive passion you have is moving beyond a quirky hobby to something resembling art. Creating an intentional form as the potter’s wheel spins at 240 rpm is an achievement, no matter how much clay you use. To control 50 or 60 pounds of spiraling clay and pull the clay into a well-made pot several feet high is a considerable accomplishment!
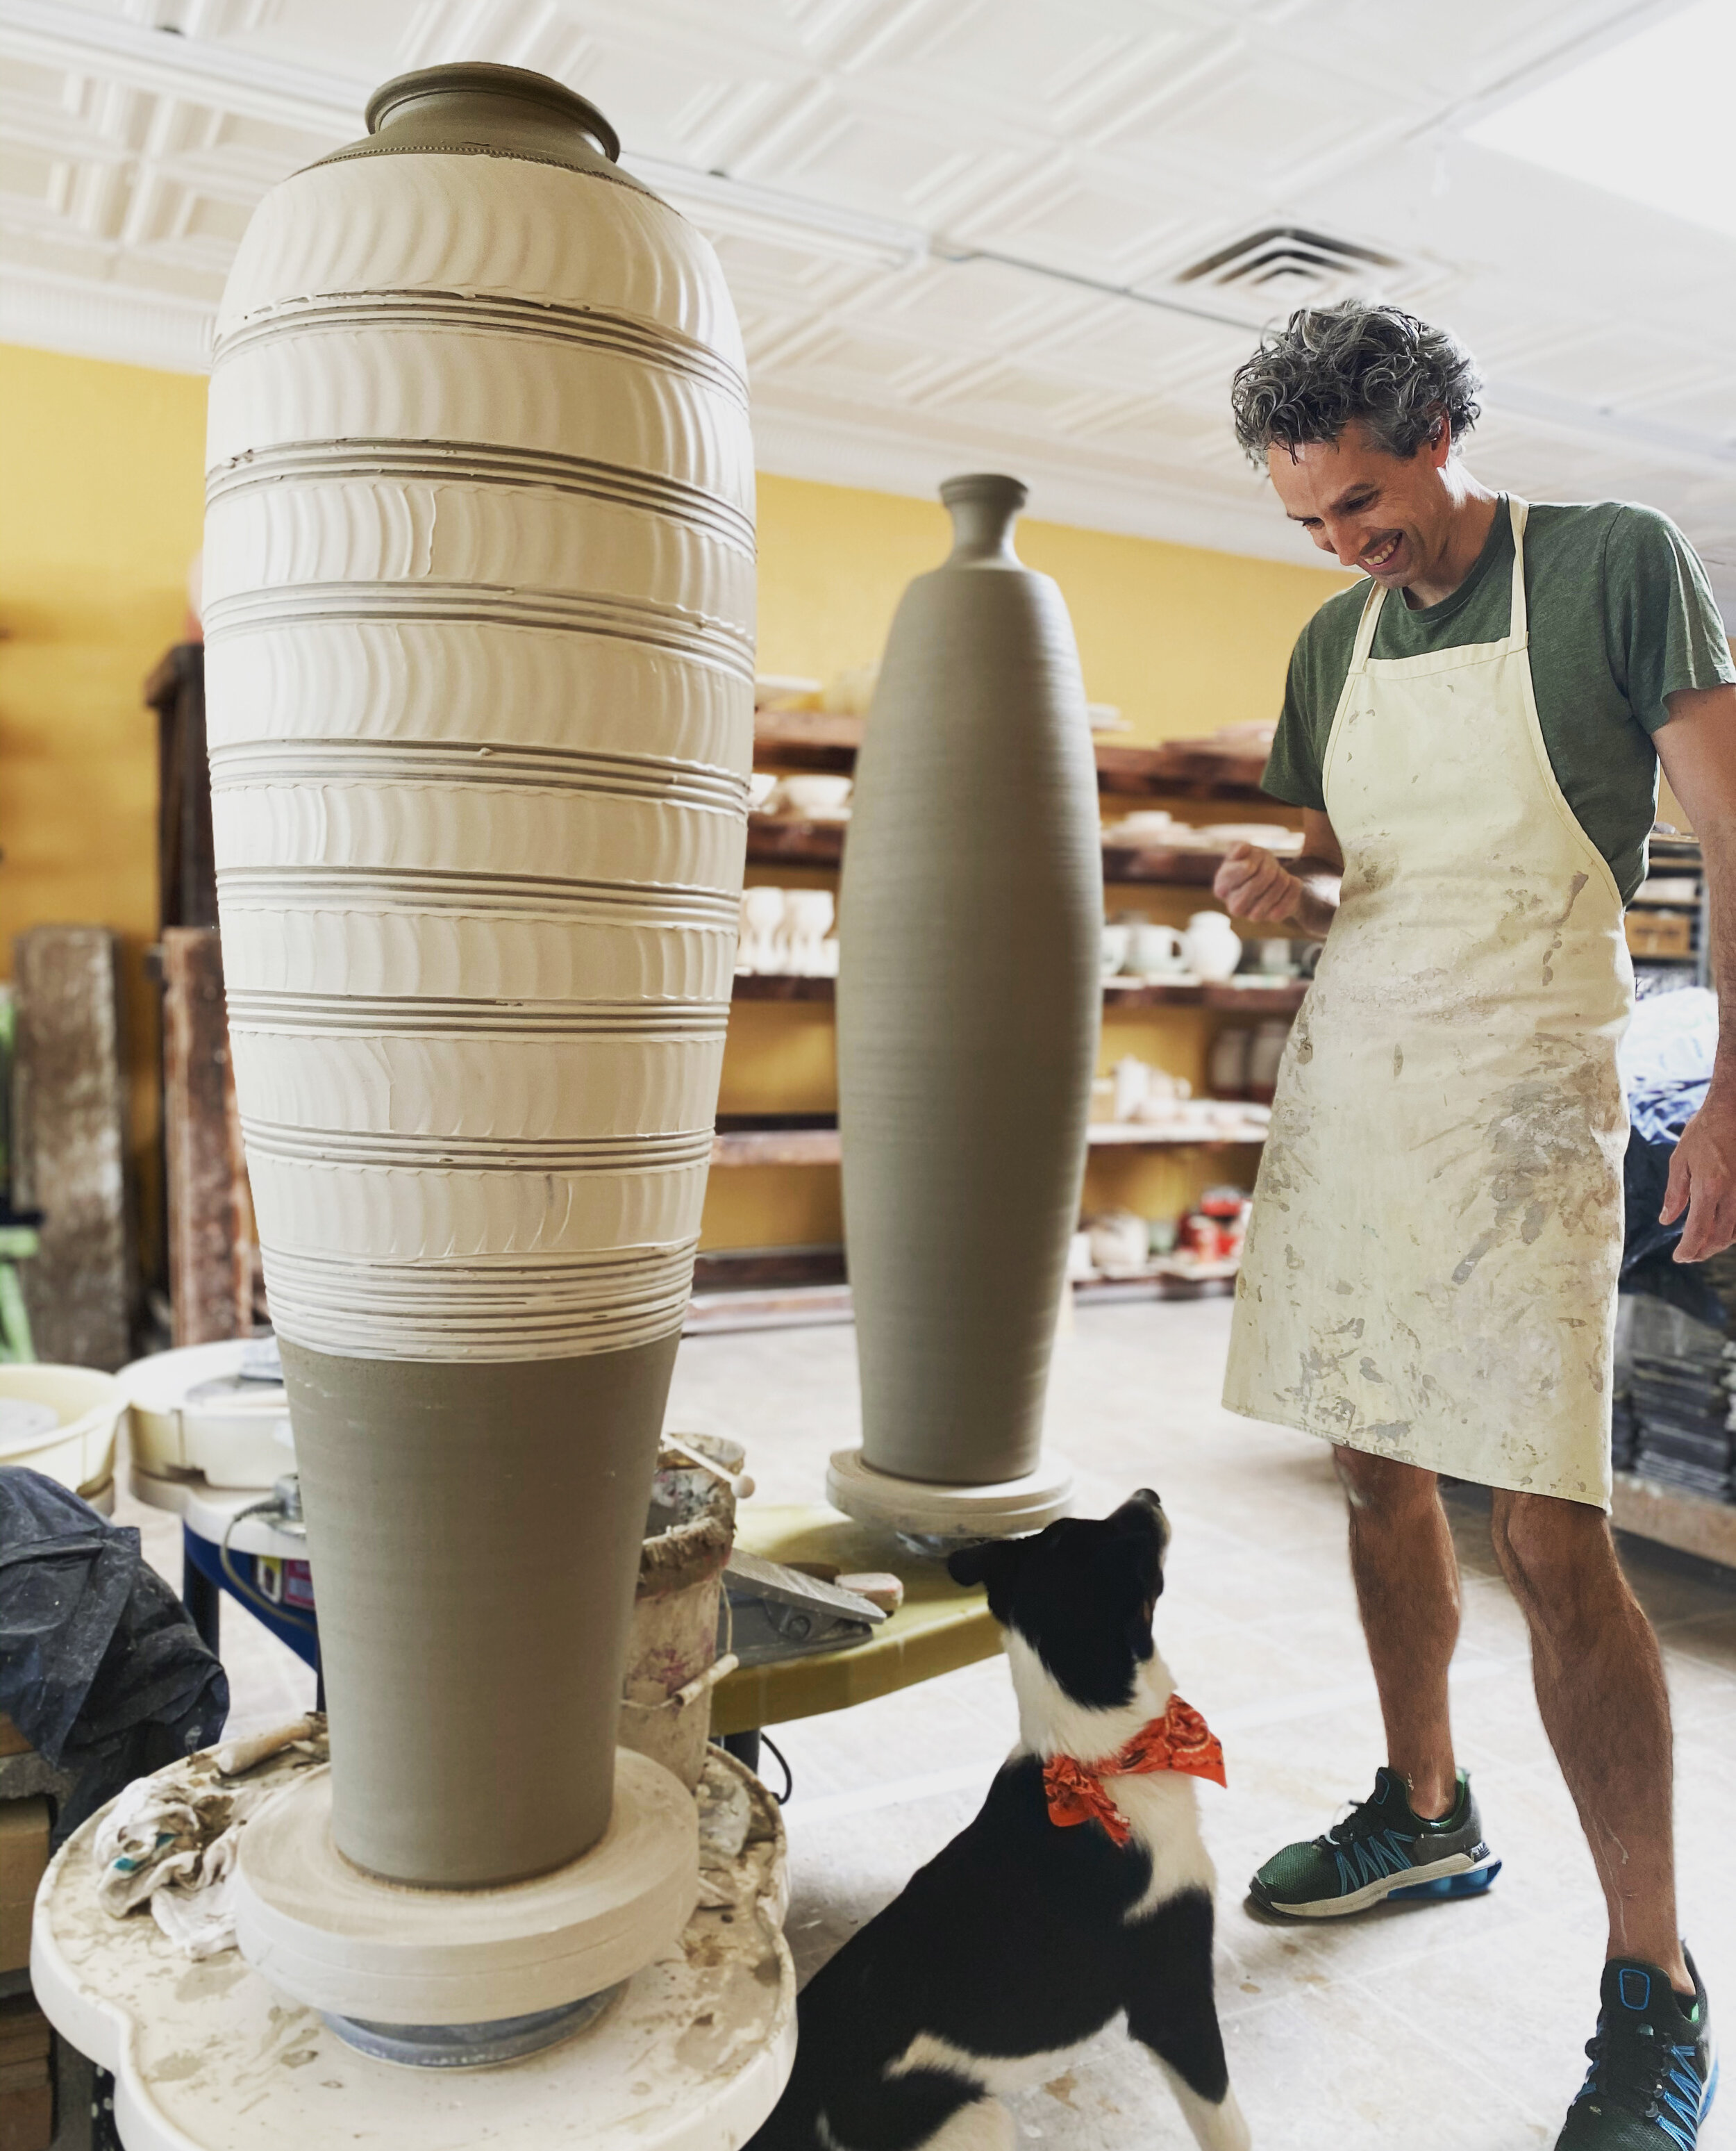
Kent and Ranger working on a commission for some large vessels.
The first few times I tried to make a bigger vessel, I threw two cylinders, let them dry to leather-hard, and then joined them on the wheel. Unfortunately, it looked like I…threw two cylinders, let them dry to leather-hard, and then joined them on the wheel. That wasn’t really what I was going for! After that, I tried various versions of making thicker cylinders and attempted to ‘throw’ them together. They all dried crooked, and the clay was thicker where it was joined, but I was proud to have accomplished a ‘big pot.’ I gave several of those first attempts at tall cylinders to family members, and I secretly hope their dogs have knocked those old pots off their counters by now.
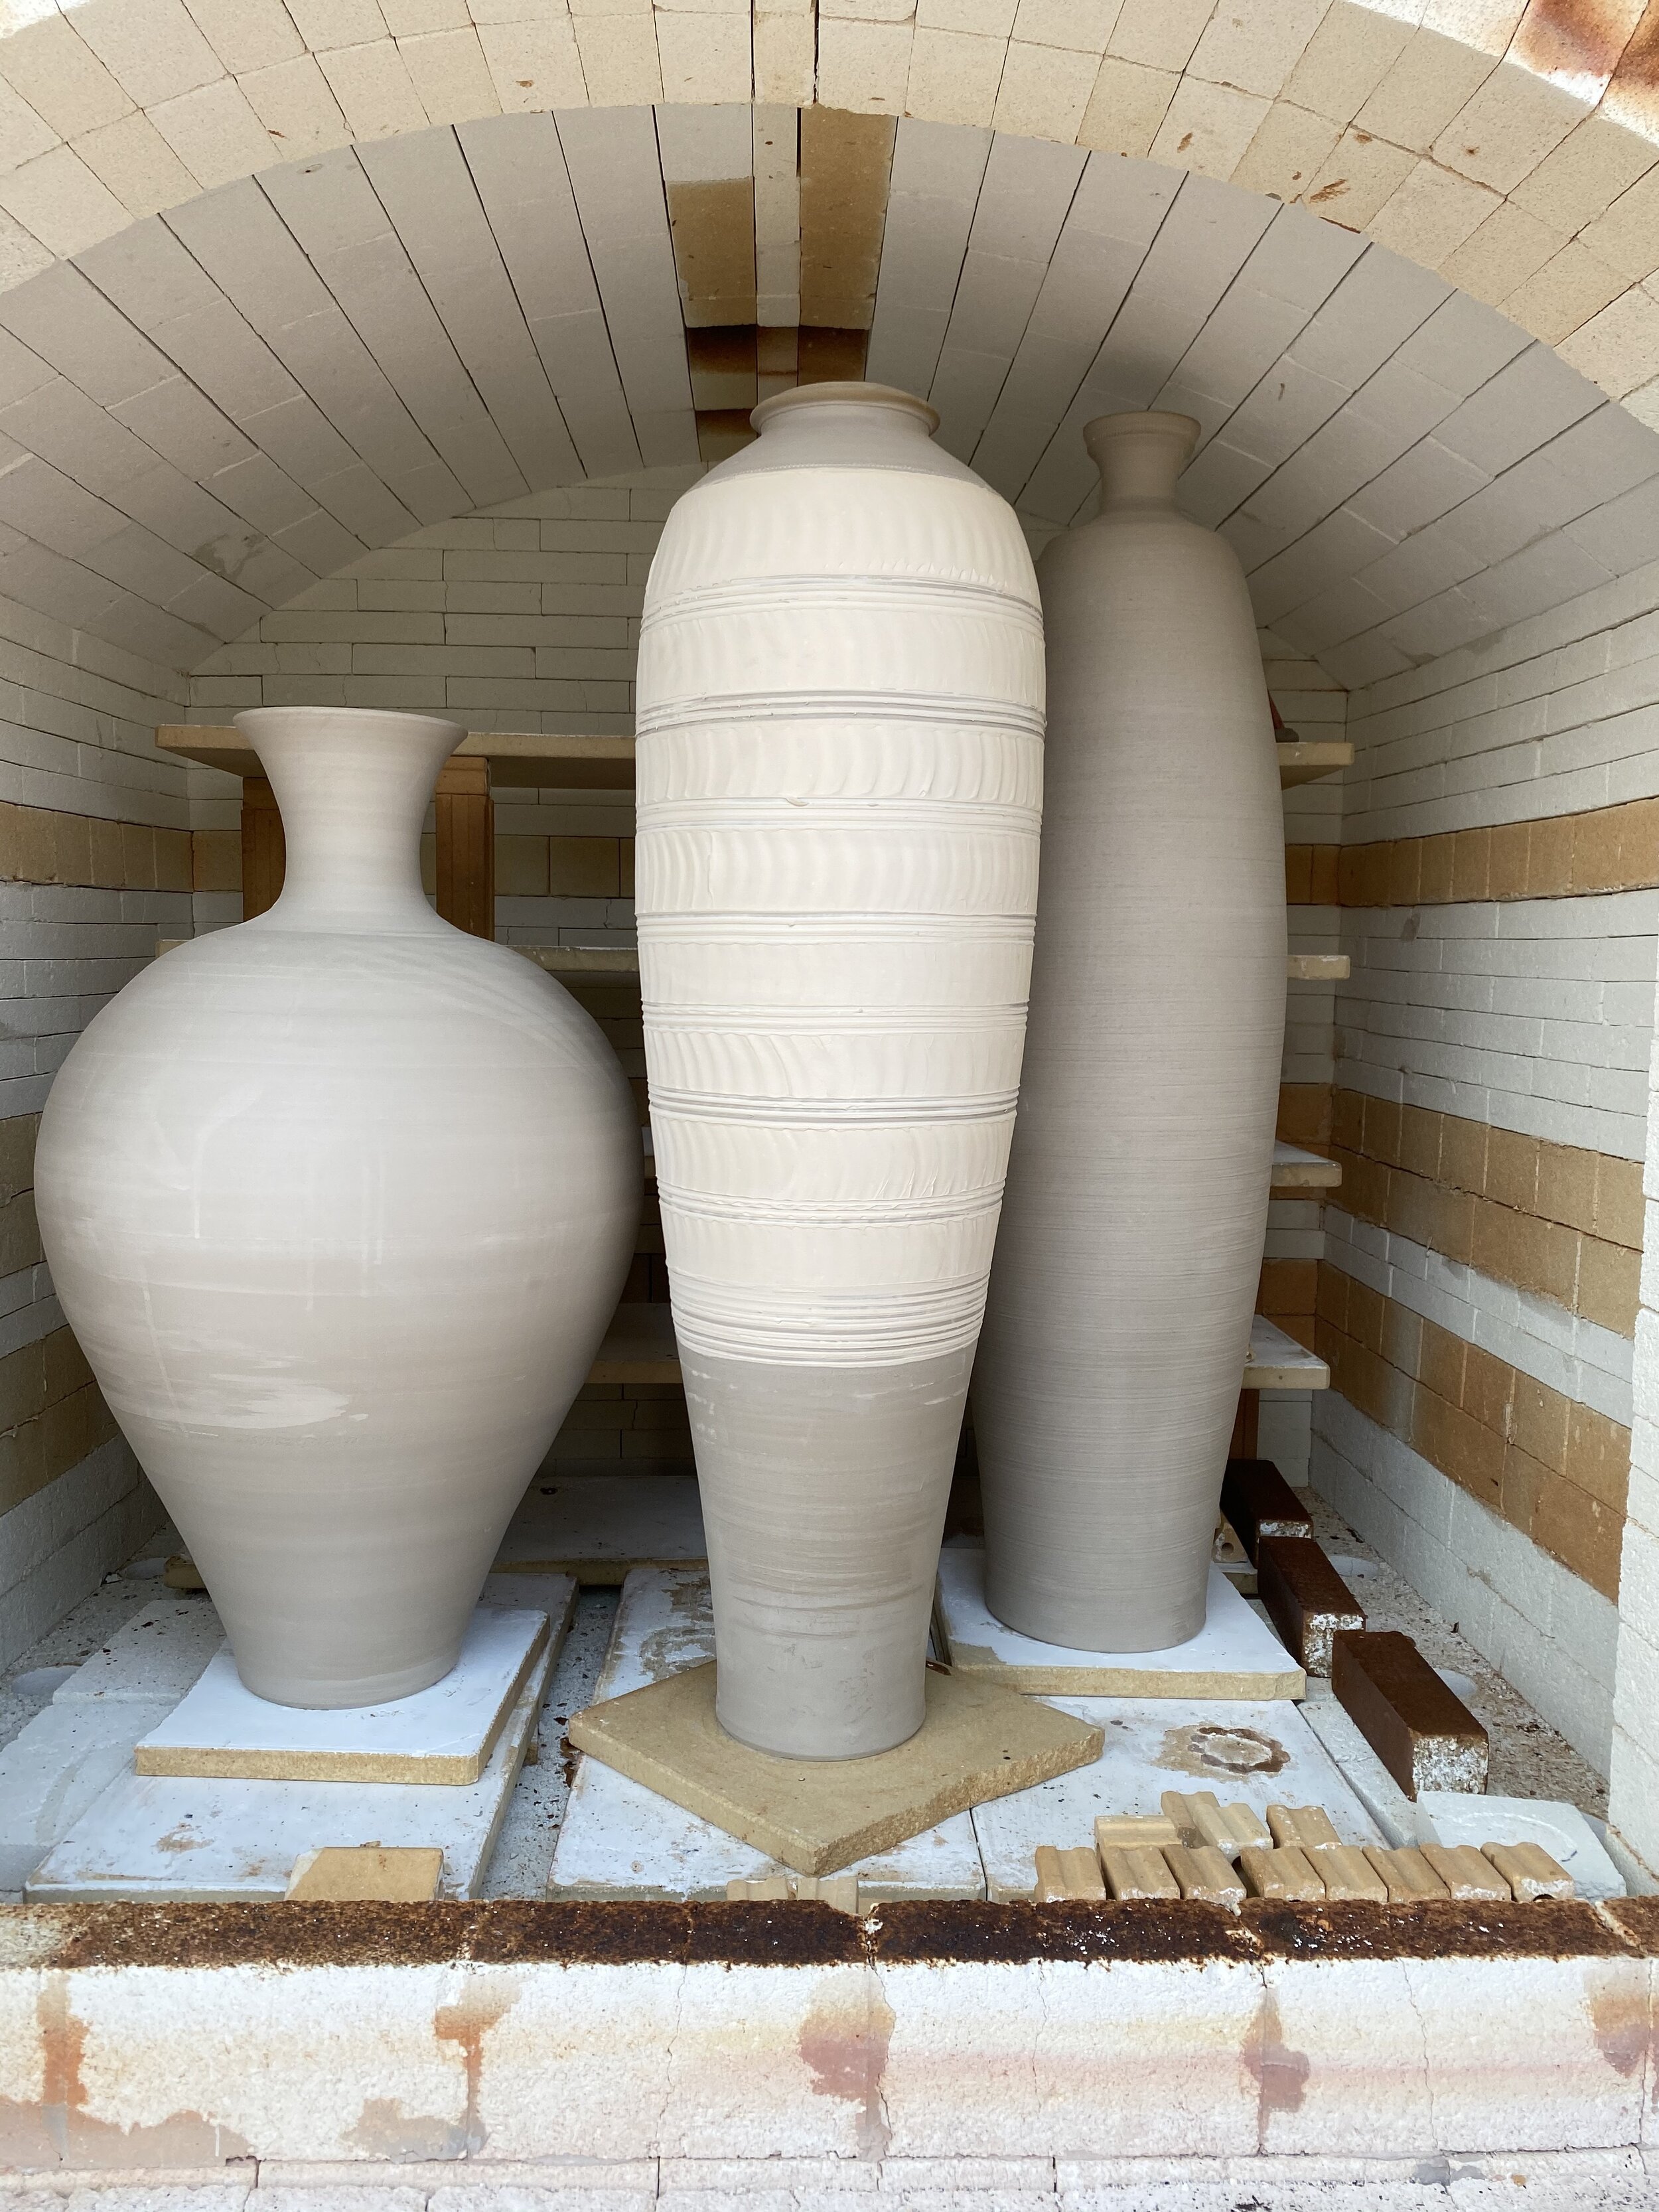
Kent’s pots have dried and are ready to be fired to 2400 degrees. Because these pots are too big for the electric kilns, we bisque-fire them in the outdoor gas kiln.
I’m still working out the best way for me to make bigger pots, but Kent has cycled through a lot of techniques and found what works best for him. He has been working on mastering the art of the big pot for several years and is throwing many complex, large-scale forms! I wanted to write this blog not about my wobbly cylinders from years past but rather to show off Kent’s newest pieces that he made for clients of interior designer and boutique owner Kasey Tam.
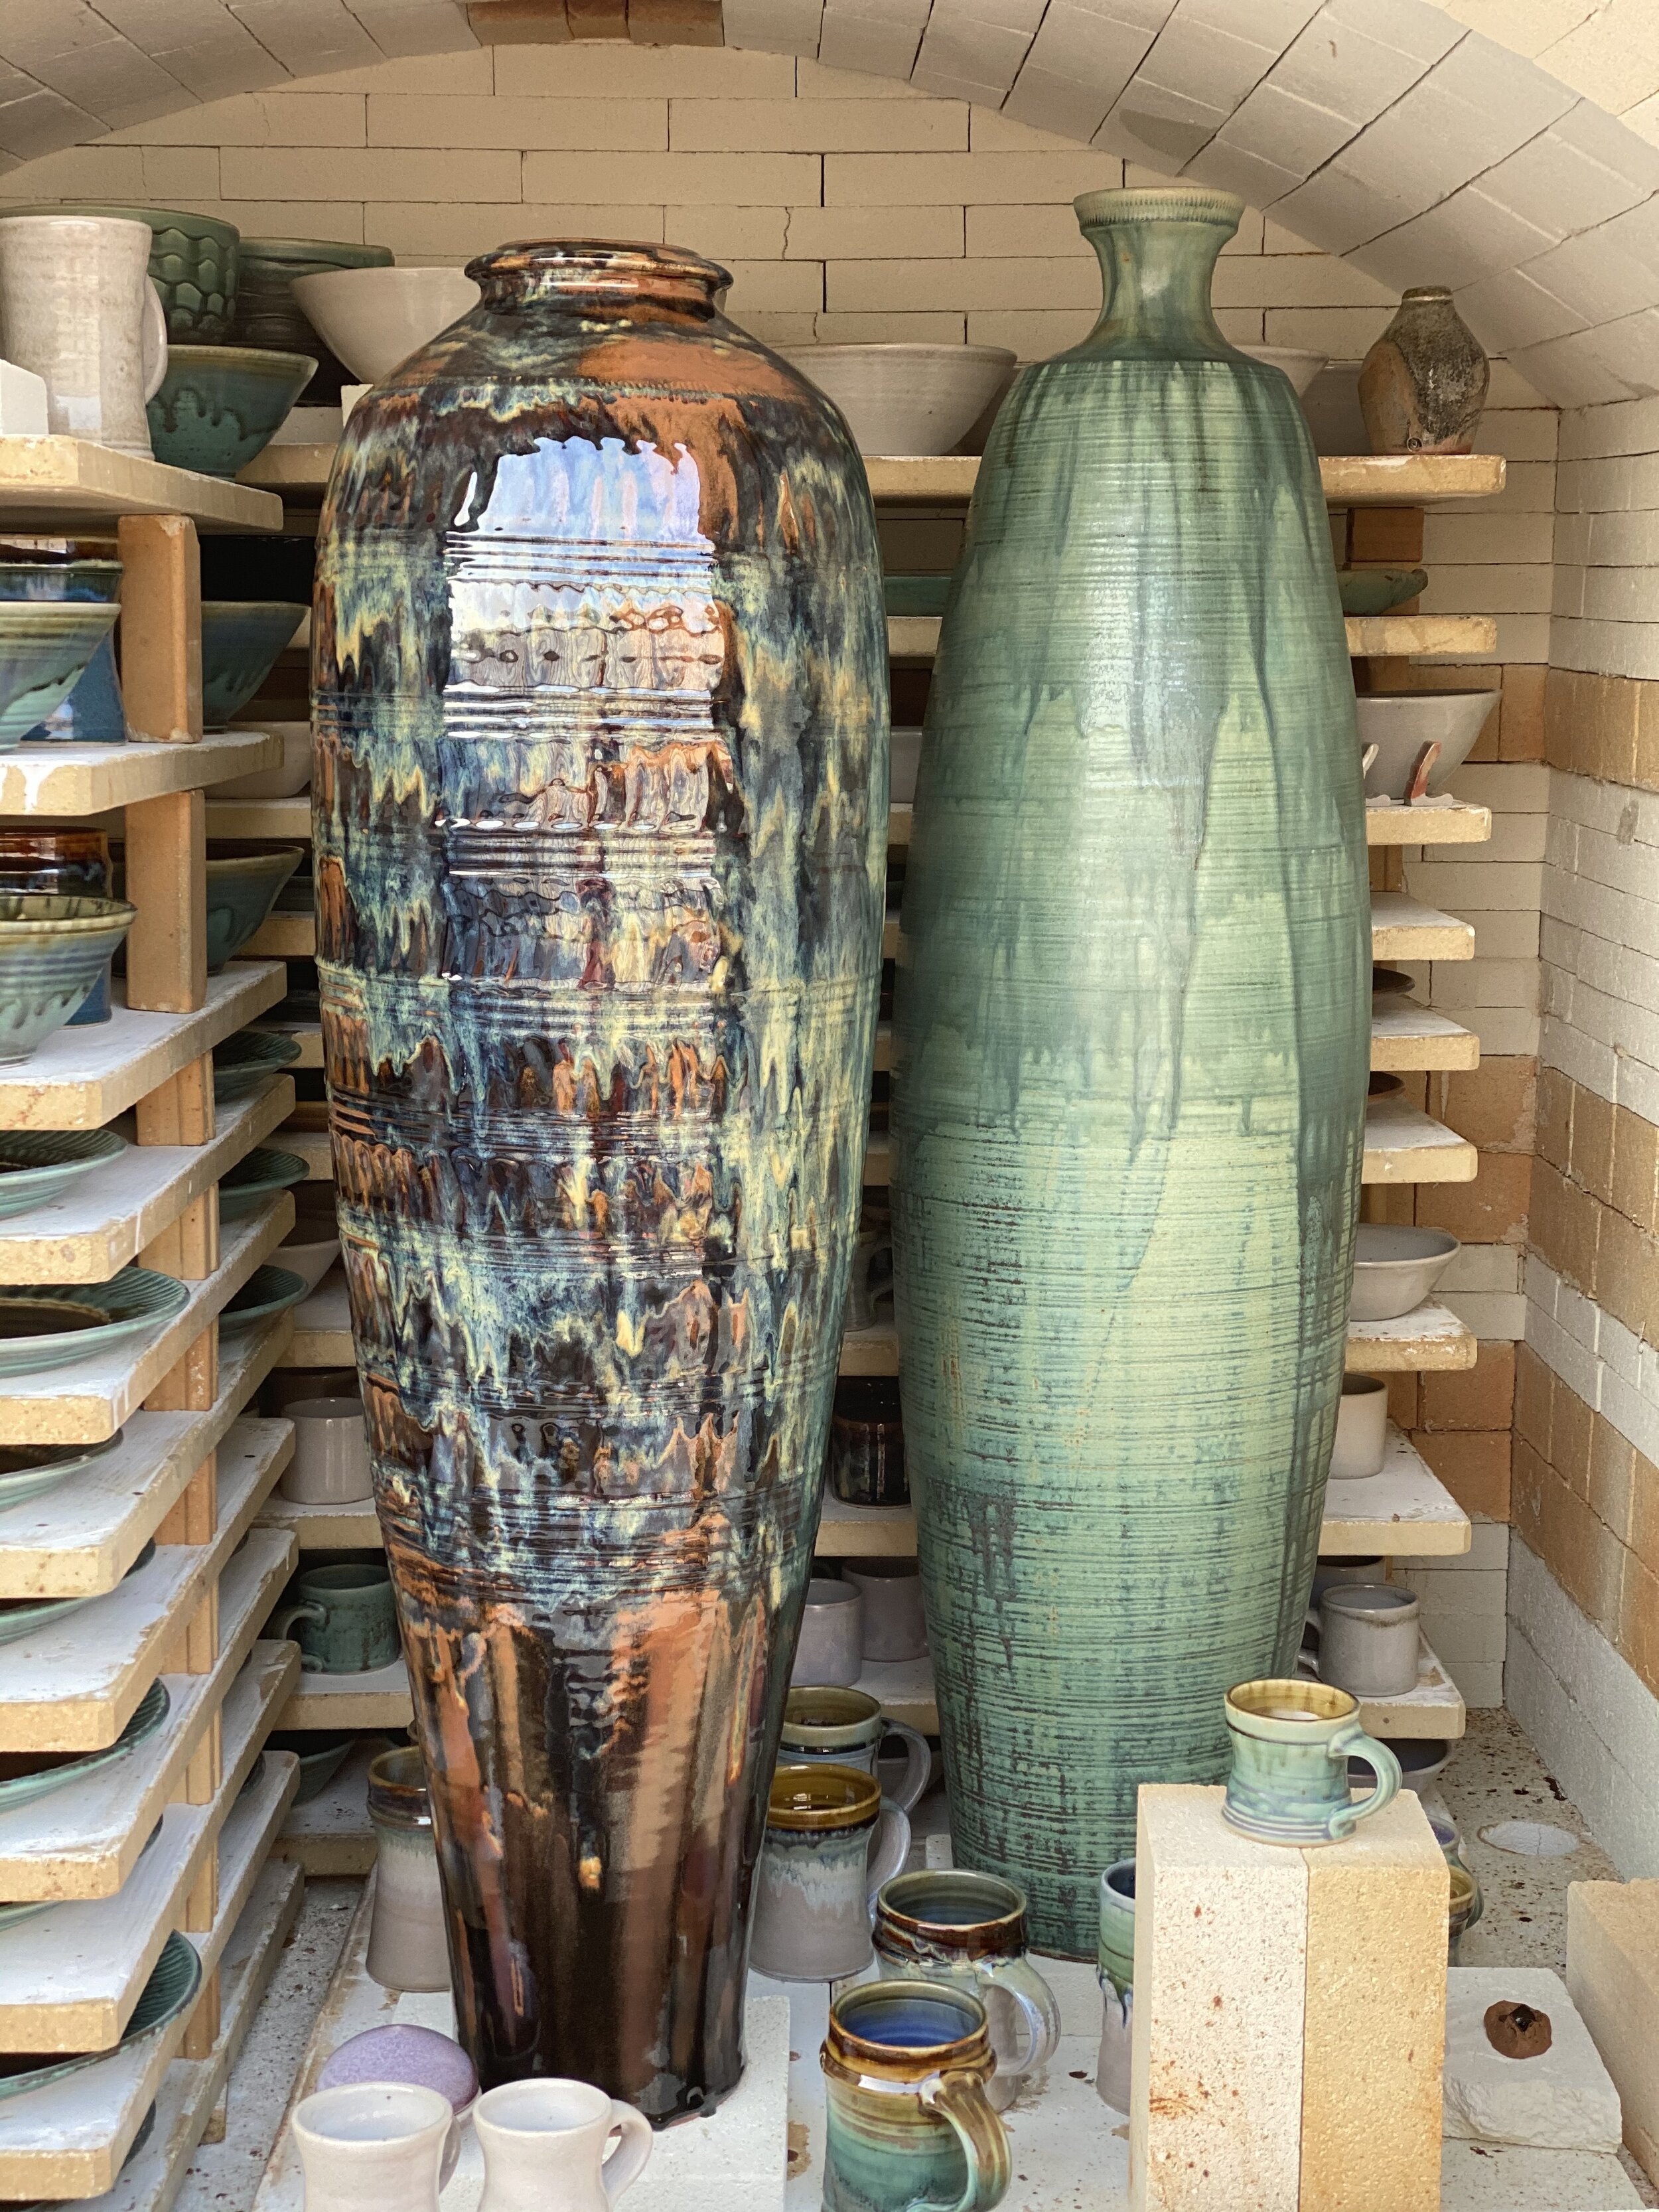
These two big pots of Kent’s turned out nicely in our recent glaze firing.
Kent started making big pots, much like me, but then experimented with the traditional Korean method used by Onggi potters. In the Onggi method, one drapes a large coil, or rope of clay, over one’s shoulder and presses and paddles the clay into a wall as the wheel slowly revolves. Kent made some stunning pieces with that technique, but in the past few years, he has returned to throwing individual sections and combining them on the potter’s wheel. What is so challenging about his method is that you have to envision all the sections before beginning and make large forms, to begin with. That means Kent has to center and throw up to 30 pounds for individual sections before joining them. Centering and throwing that much clay is difficult! The fact that Kent is 6’4” doesn’t hurt, but it’s not all biological. He has spent countless hours throwing pitchers and vases, building his skill set for the larger work.
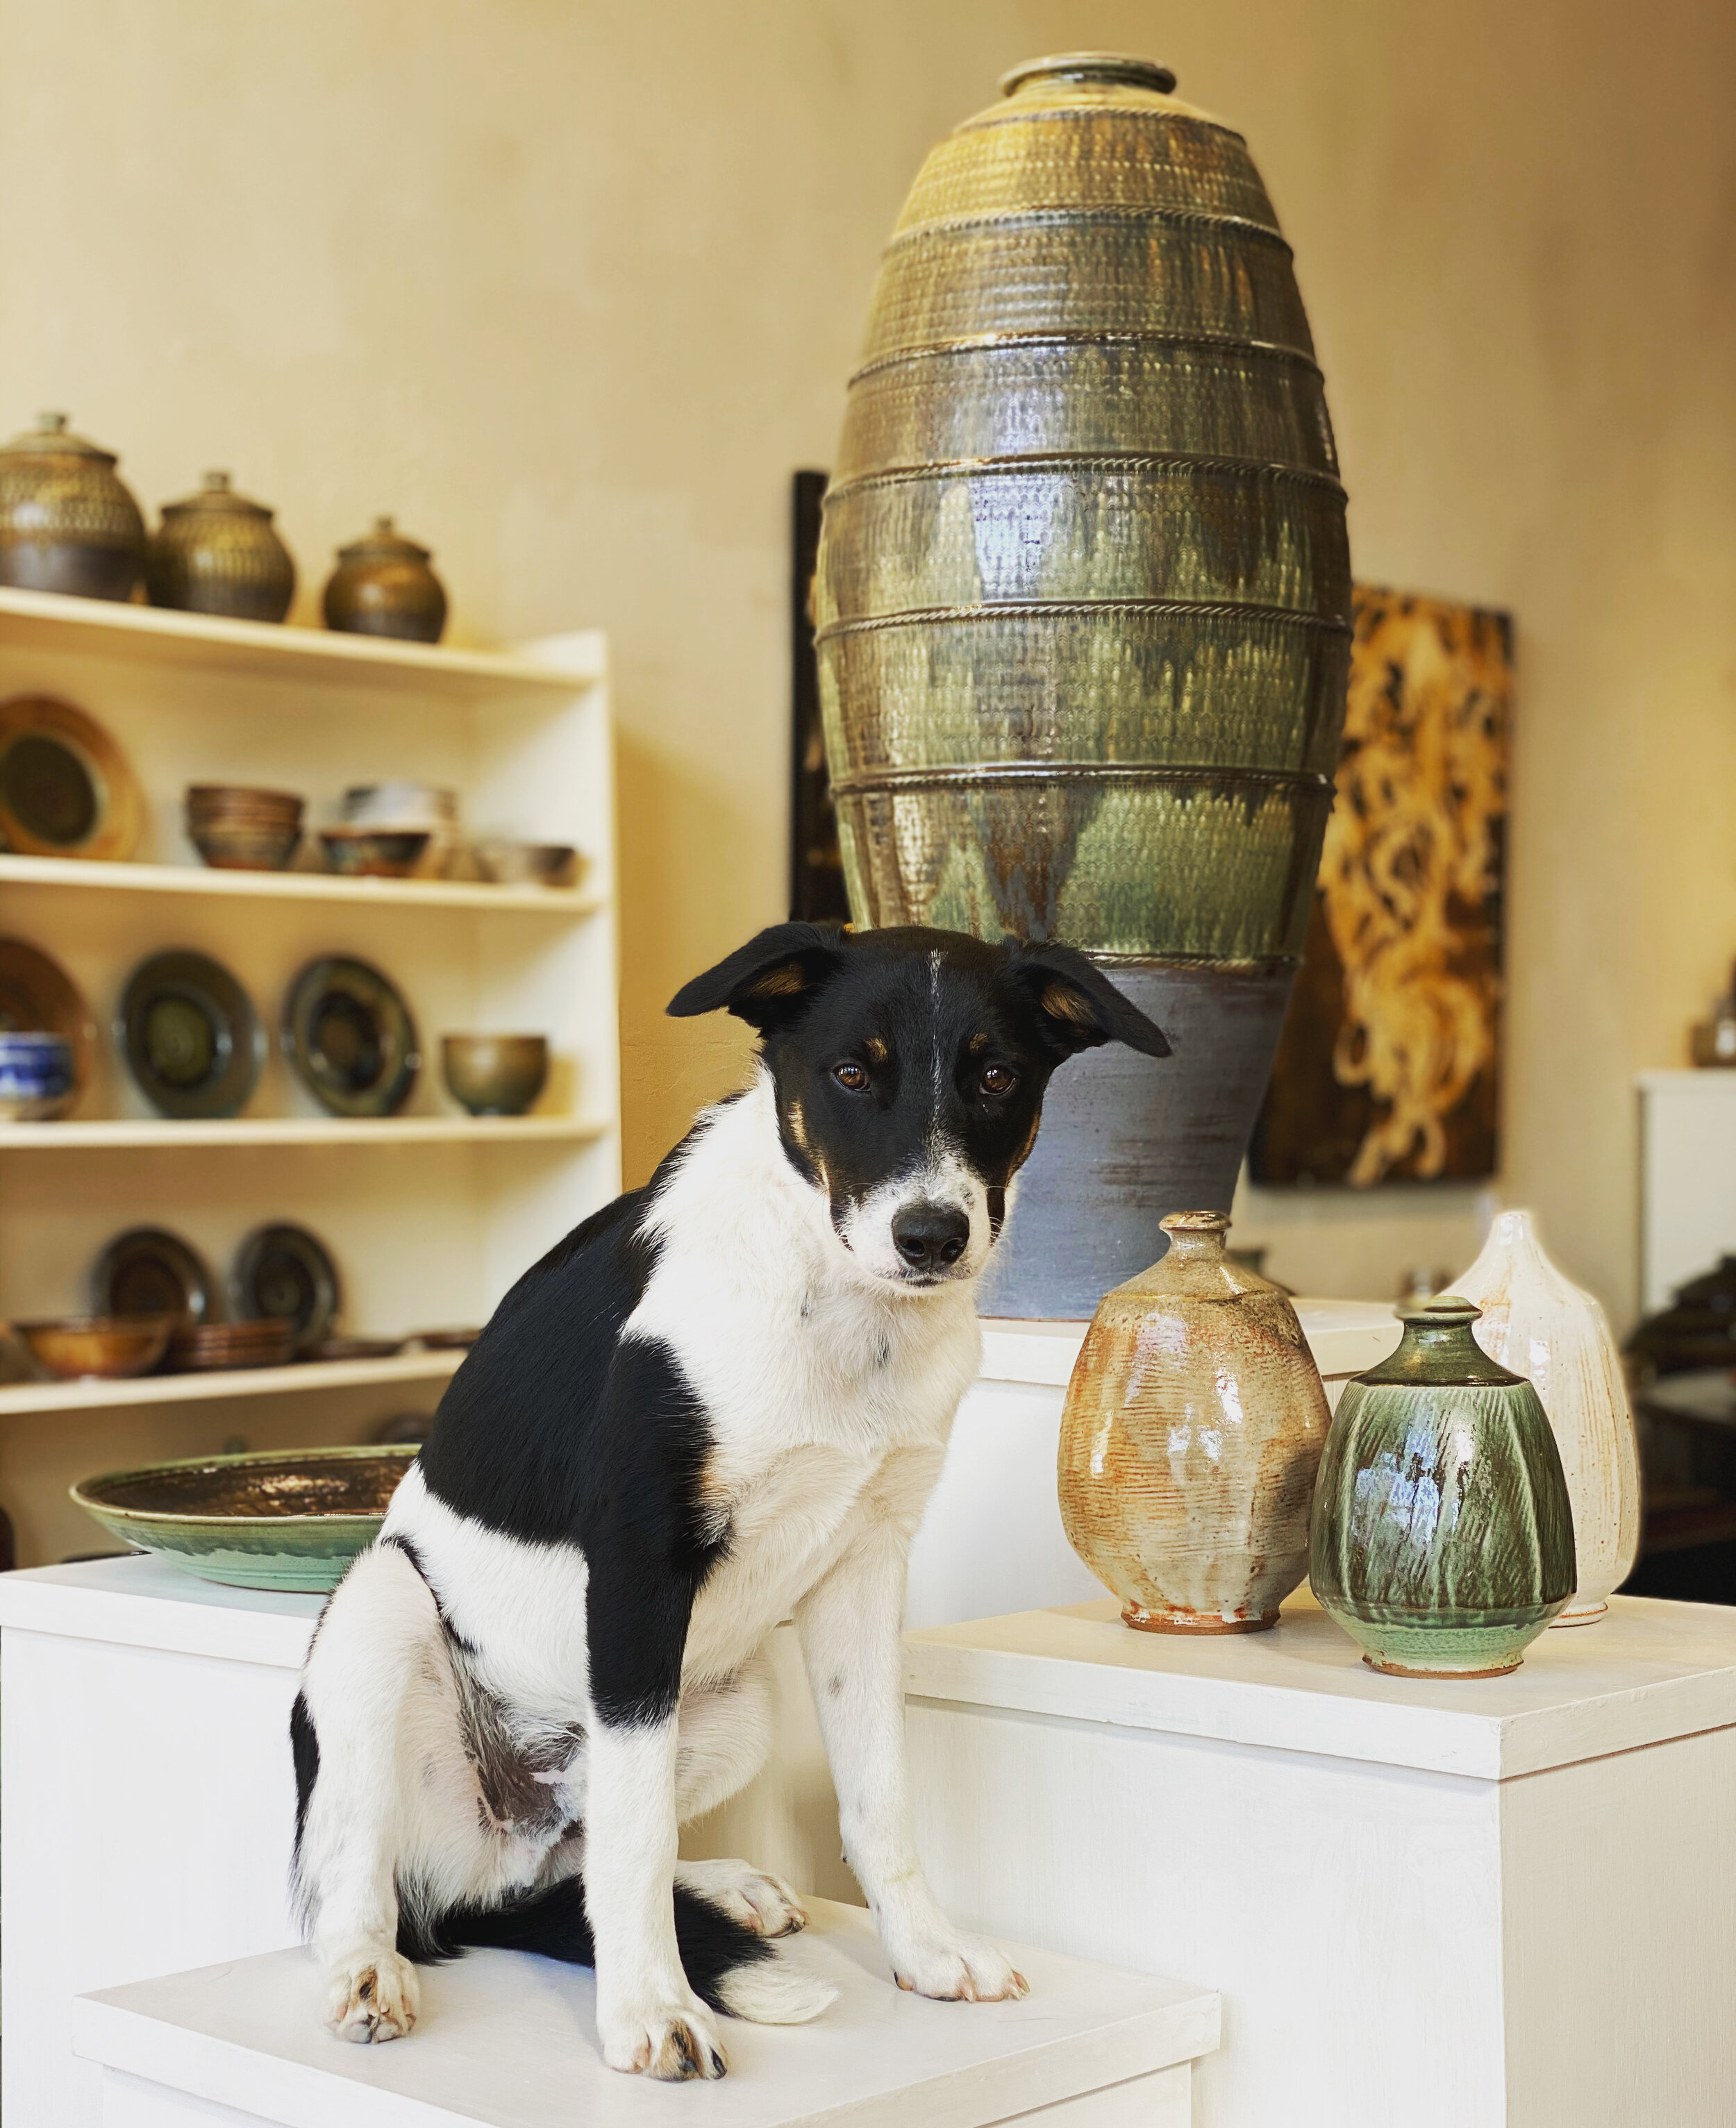
Blue Sage Pottery’s Mascot, a.k.a. ‘Ranger the Wonder Dog’
Some of the pots in the photos included in this blog post will be displayed in a unique artistic home here in Amarillo, and we can’t wait to see the pots on display. Kent loved the challenge of working on this project because our clients are also friends! If you want to see more of Kent’s larger work, please stop by Blue Sage Pottery to view new pieces in our gallery. Also, check out Kent’s Instagram for some great process photos! Kent makes large-scale vessels by commission, so don't hesitate to contact us if you want to commission artwork for your home or office. We would love to speak with you!